Join the fun and get ready to WONDER with us at Western on May 10th, 2025!
Western University will host their seventh Science Rendezvous event on Saturday, May 10th, 2025! This event is for all ages and is free! Come take part in the celebrations held across Canada! We have activities, prizes and scientific displays for the whole family, plus complete the national Science Chase race! Prepare for or event early and download our Science Rendezvous App on App Store or Google Play.
More details to come!
Click here to see some photos from 2022, and more from 2019, 2018 & 2017.
Highlights (2022):
- Recipients of the 2022 STEAM Big Award
- Over 4000 attendees
- Become an Eco-Hero with Dr. Maddox
- Explore the dangers of climate change and learn about the impact litter has on the environment
- Drone demonstrations from the Northern Tornadoes Project
- ‘Prehistoric Painting’ using crushed minerals to create ancient art
- Become biochemists and learn what our food is made of
- Build a human hand out of straws and explore the mechanics behind finger movements
- Experience the weird behavior of oobleck with ‘Space Goo’
- Spectacular stage shows: Dance Dance Rendezvous, Cosmic Yoga, Trivia, & Science Magic
- Fantastic fireworks finale and stargazing at the Hume Cronyn Memorial Observatory
- So Much More!
Highlights from previous years:
- Follow Dr. Maddox on the science chase with innovation, sustainability, discovery, and conservation!
- Test your strength with the hammer swing
- Learn how to help aquatic animals and migratory birds
- Learn how to code with fun activities!
- Prehistoric paint: use different minerals to create paintings
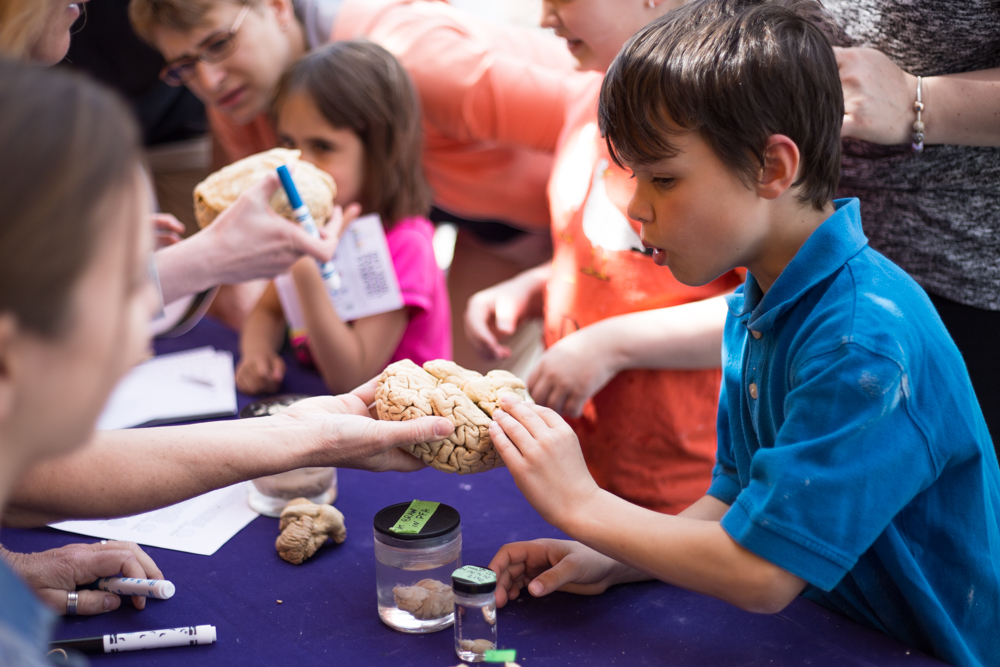
- Discover the nervous system and the brain
- Make your own compass!
- Explore the bones and joints of the human body and create a model hand
- Experience the science of Chemistry with dry ice, liquid nitrogen, fluorescence and ferro fluid demos
- Make your own planet!
- Discover the mysteries of spacetime, with black holes, gravity and solar systems!
- Phantastic Physics Stage Show
- Western University’s GatherTown event
- Live broadcasts from Thames Region Ecological Association , The Hume Cronyn Memorial Observatory
- Build your own Mars Helicopter!
- Oobleck: what is it and how does it work?
- Become a treasure hunter!
- Become a food scientist and make something delicious!
- Tune in to our INVENTours and learn about state-of-the-art research at Western!
- Learn about the science of firework colours during a dazzling fireworks display!
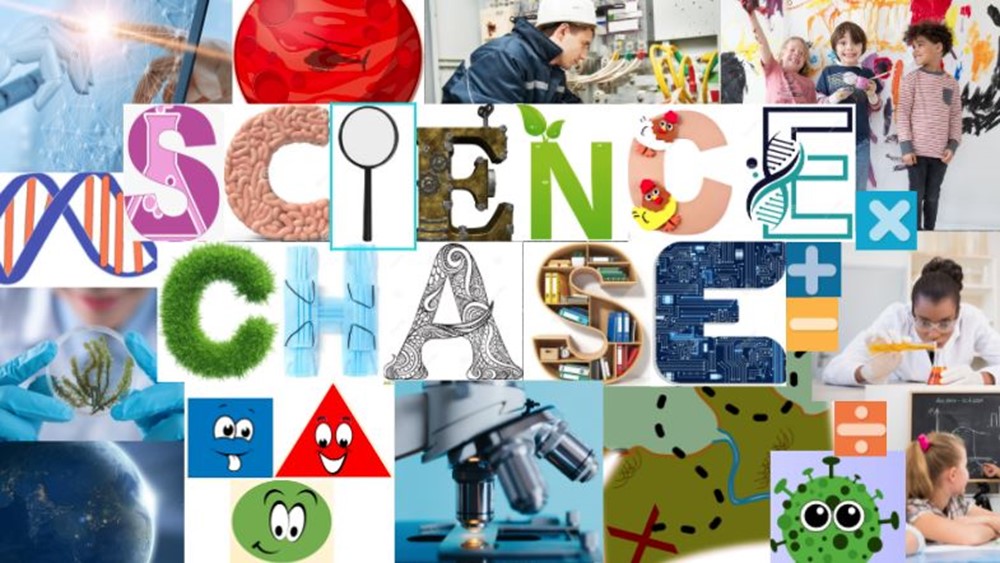
Join us for Western University’s 2022 Science Rendezvous! Take part in the Science Chase with activities like testing a paper Mars Helicopter, holding books with just paper, making a barometer, or creating a monster based on genetics! Complete 6 activity challenges below, answer the questions correctly and get points towards the National Science Chase.
This Site's Science Chase Resources:
Visible Virus
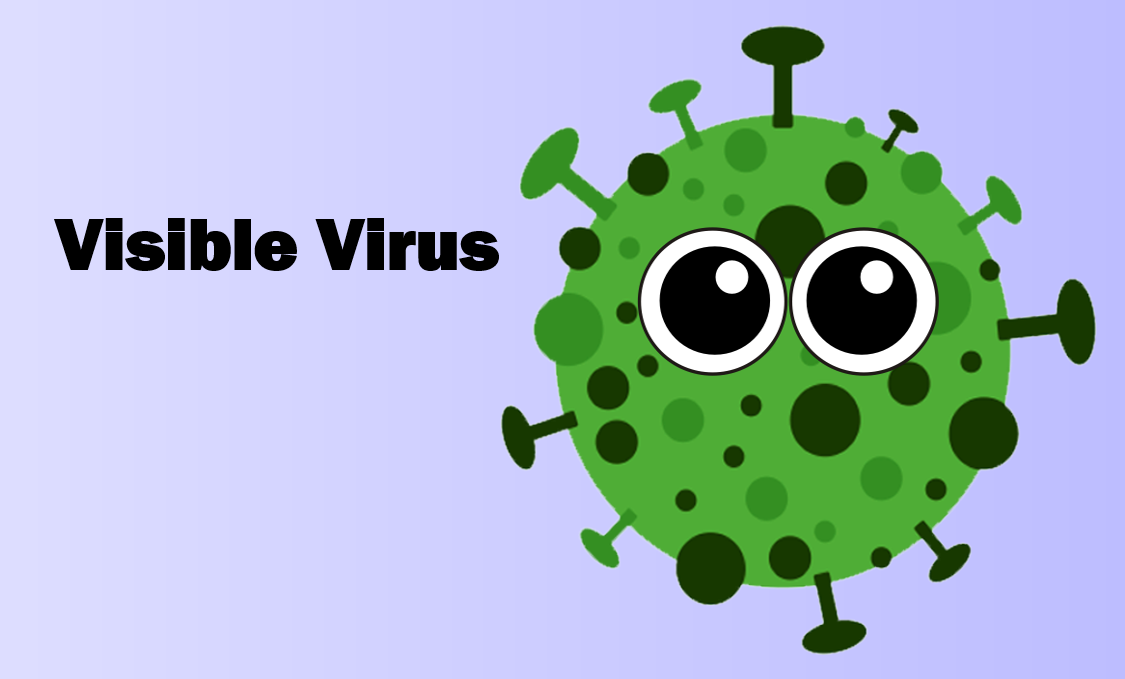
Viruses are tiny particles that you cannot see with just your eyes – you need a microscope to see them! Viruses can cause disease in people, animals, and even plants. This can occur when a virus goes into a body and begins to multiply, which makes the body sick. Since they are very small, they can float in the air after a sneeze, survive in water, or even on surfaces in your home! This is why it’s important to always wash your hands!
Scientists are working hard to find out where COVID-19 came from. We know that it’s similar to a coronavirus that usually lives in bats. Somehow, the virus infected a person and now it’s spreading to other people.
COVID-19 is the scientific name for this type of coronavirus, which stands for:
- CO for corona
- VI for virus
- D for disease
- 19 for the year we found the virus
Viruses have very distinctive shapes and patterns. They are often symmetrical because viruses are very simple, only having a few parts, which they use repeatedly. Because of this, many viruses can be made into paper snowflakes!
Things you will need:
- Paper
- Scissors
- Pencil or pen
Instructions:
From the template, choose a virus you want to make a paper snowflake of! There are different difficulties (Easy, Medium, Hard), so choose whatever virus you want. Each page also gives you an amazing description about that virus! You can either print out the template of your choice or follow the instructional video and make a handmade virus paper snowflake (no printing required). The video will go through the steps on how to fold your paper, draw a design (video shows the Anellovirus), and cut your virus paper snowflake out!
- Step 1: Choose which virus you are going to make. Decide whether you are going to print out a template or make it by hand. If you are using the template, make sure you print out the one page with the virus you chose.
- Step 2: Cut your paper into a square.
- Step 3: Fold the paper into a 8-section triangle (video shows demonstration).
- Step 4: If you are using the template, cut around the design. If not, hand draw the virus of your choice and cut around the design carefully.
- Step 5: Unfold and see your amazing virus snowflake!
Template:
Practice Question #1:
In COVID 19, what does the D stand for? BONUS: What type of snowflake virus did you create?
Geo-Seek
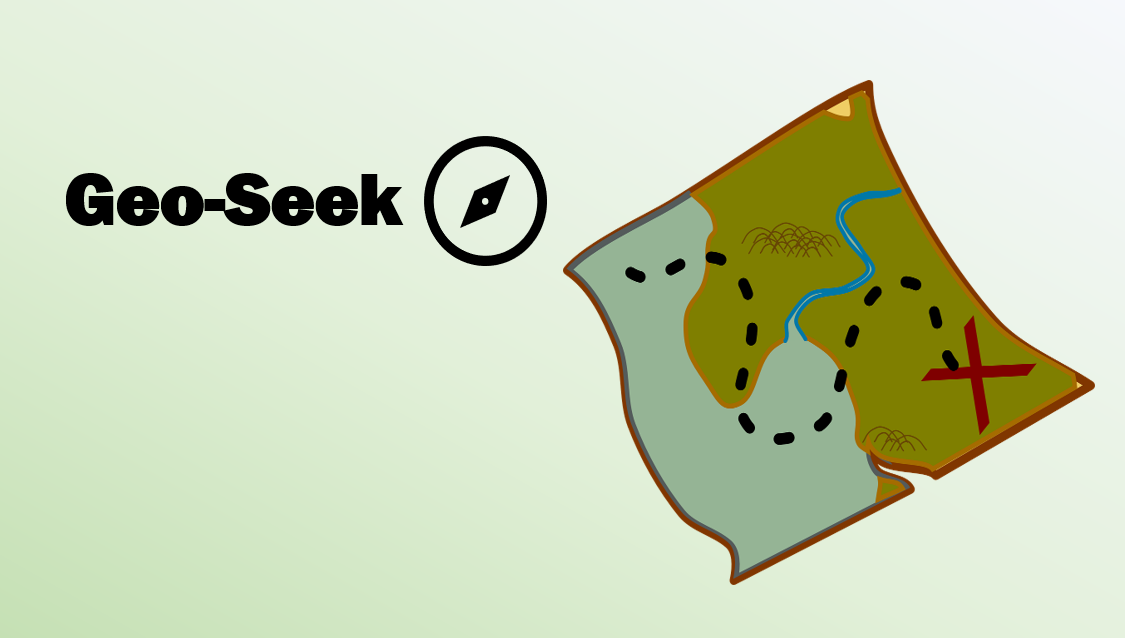
Maps help give information about the world in a simple and visual way. They teach us about geography by showing sizes and shapes of items/places, locations of these items/places and distances between them. A map scale is the relationship between the size of an object on the map and the size in real life. For example, your bed is bigger than a chair so that means on your map of your house, your bed should also be shown as the bigger object! Maps show us where things are located from a birds’-eye-view and can help people navigate and find their way around. They could even help you find treasure!
Things will you need:
- Piece of Paper
- Pencil or Pen (you can also use a computer program, like Paint, to make your map)
Instructions:
In your home or yard, make a map (from a birds’-eye-view, like the example) to locate any three of the objects listed below. Remember, a good map should be to scale. You should be able to give your map to someone and they should be able to find the items you have placed on your map!
- Bathtub/shower
- Toothbrush
- Chair
- Refrigerator
- Table
- Bed
- Game
- Rock
- Tree
- Branch
- Leaf
- Flower
Below is an example of a map of an apartment, showing where to find a table, bed and bathtub from the front door.

Practice Question #2:
What is one thing that makes a good map?
Mars Rover Helicopter Project
Last year, NASA launched the Perseverance Mars Rover to look for signs of ancient life and to collect rock and soil samples on the Red Planet. Mars has some rocky areas and steep cliffs so it will need some help in order to complete its mission. This is where the Mars helicopter comes in! This helicopter, named Ingenuity, will fly across the rocky terrain and take pictures of areas the Perseverance Rover cannot reach.
In order to fly on Mars, the helicopter needs to be lightweight and needs to generate enough ‘lift’ to counteract the planet’s gravity and rise off the ground. ‘Lift’ is the force that is generated by the air as it pushes on the helicopter’s blades to lift the helicopter off the ground.
For this activity, you will build two paper helicopters and, like the NASA volunteers, test the different designs to see which works best!
Things will you need:
- Printer paper
- Scissors
- Pencil
- (Optional) Ruler/Measuring Tape
Instructions:
Watch and follow along with the video for visual instructions!
Step 1: Collect materials
Download the Helicopter Template. If you have access to a printer, print the document. If you do not have a printer, no worries! Grab a pencil and copy the template onto a piece of paper. You can use a ruler when drawing your template to get straight lines and to make sure both of your ‘helicopters’ are the same length. If you do not have a ruler, you can use a book, movie or video game case, or another piece of paper to make a straight line. Also, make sure you label each panel with a letter like it is in the template!
Step 2: Cut along dashed lines
Cut out the helicopter. Make sure to leave the other half of the template with the second helicopter for the comparison step later! Cut along all of the dashed lines in the template. There are dashed lines all around the outside of the helicopter and down between the A and B panels (these will be the helicopter’s blades).
Step 3: Fold along the solid lines
The rotor blades, A and B, should be folded in opposite directions. Notice that panels A and B should be folded at a slight downward angle! The X and Y panels fold towards the centre of the helicopter, facing each other. The Z panel should then be folded upwards over the bottoms of the X and Y panels.
Step 4: Do a test flight!
Stand up and hold the helicopter by its body. Raise the helicopter as high as you can and drop it!
Step 5: Prepare second helicopter
Grab the second half of the template with the second helicopter you saved earlier. Cut across the dotted lines as you did earlier. But before you fold across the solid lines, cut the A and B panels in half to make shorter rotor blades. Then, fold across the solid lines as you did for the first helicopter.
Step 6: Compare!
Stand up and hold one helicopter in each hand. Raise both helicopters as high as you can then then drop them!
Practice Question #3:
What is the term used to describe the force that is generated by the air as it pushes on the helicopter’s blades to lift the helicopter off the ground.
Gene Factory

Genes carry information that makes you who you are and what you look like: curly or straight hair, long or short legs, even how you might smile or laugh. Many of these things are passed from one generation to the next in a family by genes. Each of your parents has two copies of each of their genes, and each parent passes along just one copy to make up the genes you have. Genes that are passed on to you determine many of your traits, such as your hair, eyes, and skin colour.
For example, Emma’s mother has one gene for brown eyes and one for blue eyes. If she passed the blue eyes gene on to Emma and if her father has two genes for blue eyes, that could explain her bright blue eyes. Emma ended up with two genes for blue eyes, one from each of her parents.
What if Emma got the brown eyes gene from her mom instead?
Some genes are dominant and others are recessive. For example, brown eyes are dominant and blue eyes are recessive. If Emma has a brown eyes gene and a blue eye gene, she will then have brown eyes. People can only have blue eyes if both genes are blue.
How do we know which genes get passed on from parents to their children?
It is completely RANDOM! There is a 50/50 chance.
Things will you need:
- A coin (you can also visit the following website to perform a virtual coin toss)
- Paper
- Pens, markers, crayons, paint, or pencils (you can also use a computer program, like Paint, to make your monster)
- A camera (to snap and share your amazing creations with us – optional)
Instructions:
- Step 1: Flip the coin (manually or virtually) for each trait in the table below
- Step 2: If you land on heads, draw the respective dominant trait for your monster. If you land on tails, draw the respective recessive trait for your monster.
- For example, when flipping the coin for body shape, if I land on tails, I will draw a circle on my paper like this.
- Step 3: Once you have created your monster, take a picture of your genetic masterpiece and share it with us at sr_info@uwo.ca

Below is an example of some monsters drawn by us! We can see that all the monsters look different, just like we all look different from each other.

Practice Question #4:
What colour eyes would you have if you had one blue eye gene and one brown eye gene? BONUS: What is the name of your monster you created?
The Strongest Shape

Watch the video to get visual instructions on how to build each of the shapes and test out their strength!
How many books or pages could each of your towers hold?
What did you find? Most likely, your circle column held the most books. Why? The weight of the books cannot be concentrated in only one area! The square and triangular columns have corners and edges that take on the weight and eventually collapse under it. Next time you are in a big building like a mall, or a parking garage, try to notice some cylindrical support beams!
Practice Question #5:
What parts of the polygons make them more likely to collapse?
Math Logic Puzzle
Practice Question #6:
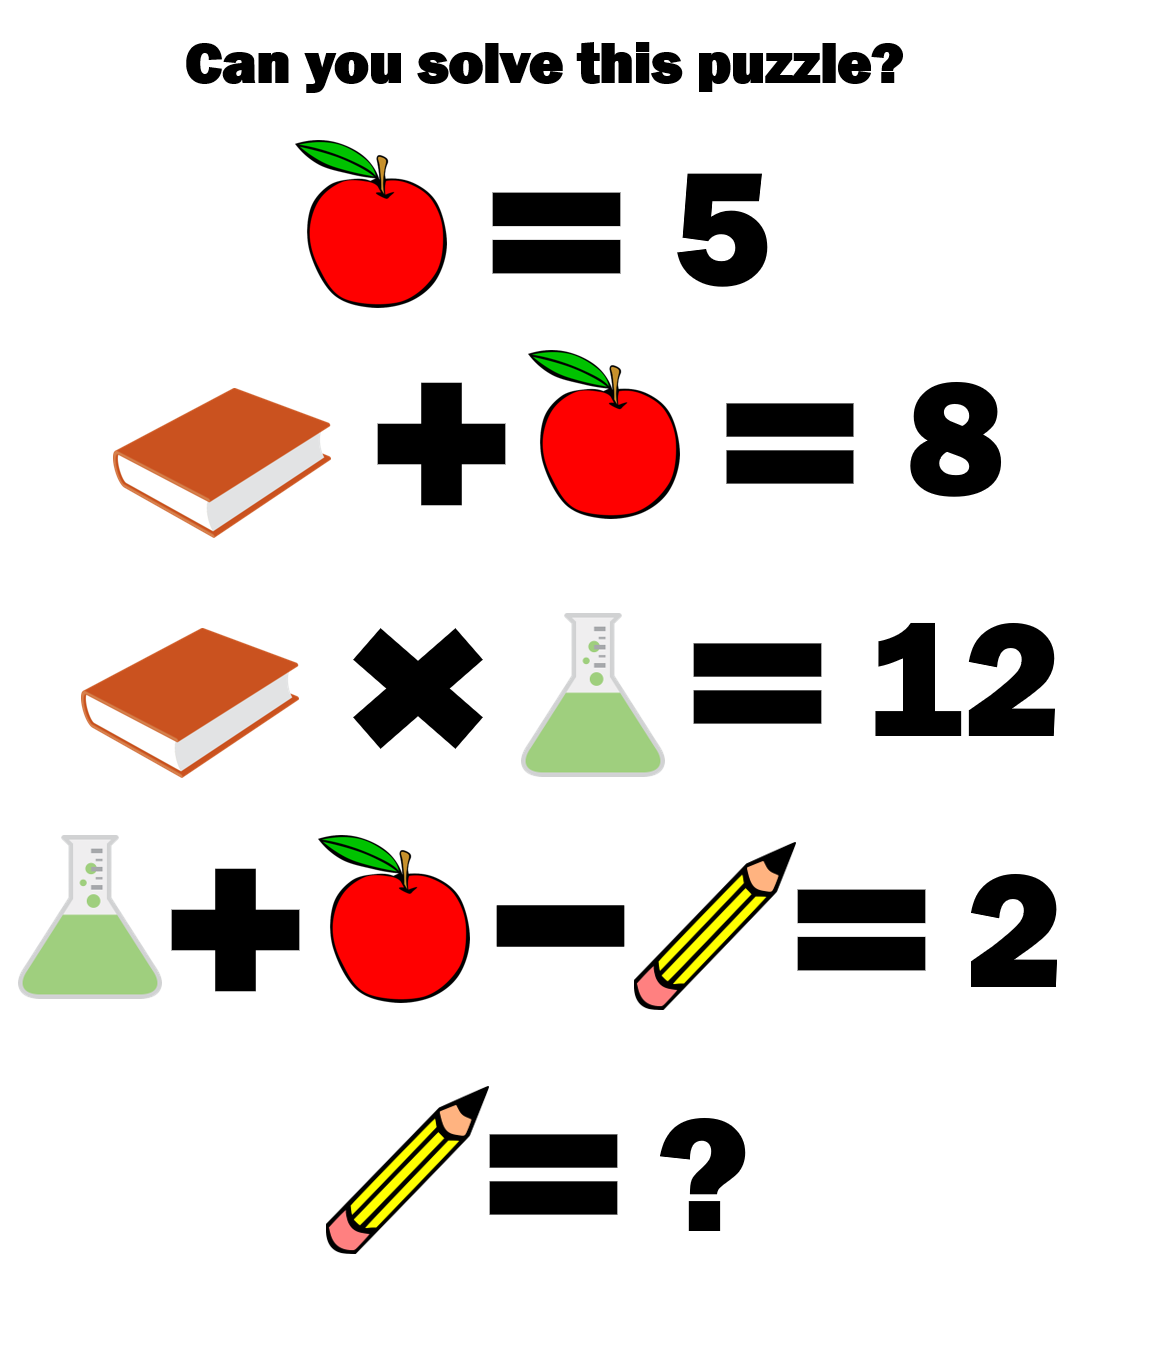
What value does the pencil equal to?
Make a Barometer
With Spring comes crazy weather! One of the indicators for how the weather is going to be is changes in air pressure. In this activity, we will use items from around the house to make our very own homemade barometer and track air pressure along with weather changes!
Things you will need:
- A balloon
- A stick
- Some elastics
- A jar
- A ruler (or a measuring tape)
- Some Glue
Instructions:
- Step 1: Cut the balloon about 2/3 down (you’ll be using the larger portion of the balloon for the experiment).
- Step 2: Stretch the cut balloon over the top of the jar.
- Step 3: Secure the balloon using the rubber band so it doesn’t slip off.
- Step 4: Glue the coffee stick to the center of your balloon so the end with the stick is hanging over the edge of the jar.
- Step 5: Stand your ruler next to your barometer so the stick is pointing to the metric side of the ruler (or the measuring tape).
- Step 6: You now have a barometer!
Practice Question #7:
What does a barometer measure?
Rainstorm Model
Rain is an important aspect of weather that helps nature thrive and cleans the air too! However, because of climate change, events like destructive rainstorms have become more common. Scientists often use models of severe weather events to study how things like rain storms will affect humans. Knowing this, we thought it would be a good idea to create our own model of a rain storm.
What we need:
- Shaving cream
- A large glass
- Water
- Food coloring
- A spoon
Instructions:
- Step 1: Fill the glass 1/2 full with water
- Step 2: Spray some shaving cream on top of the water to fill the glass to ¾ full.
- Step 3: Use your finger or a spoon to spread the shaving cream evenly over the top of the water. The top of the shaving cream should be flat.
- Step 4: Mix ½-cup water with 10 drops of food coloring in a separate container. Gently add the colored water, spoonful by spoonful, to the top of the shaving cream. When it gets too heavy, watch it storm!
How does the model work: Clouds in the sky hold onto water. They can hold millions of gallons! The layer of shaving cream is our pretend cloud in this experiment. The shaving cream layer can also hold onto water. Clouds can’t keep storing more and more water forever, eventually they get too heavy. When that happens, the water falls out (precipitates) as rain, snow, sleet, or hail.
Practice Question #8:
Why does shaving cream act similar to clouds?


 Volunteer Spotlight
 Science Rendezvous

